Mastering Tips Install Interactive Flat Panel is essential for anyone looking to bring a dynamic digital experience to classrooms or workspaces. Proper installation ensures that the panel performs optimally and extends its lifespan. Many users often overlook the early stages of installation, but careful preparation can prevent technical issues later on.
Before starting, it is important to understand that Tips Install Interactive Flat Panel include choosing the right location, preparing supporting tools, and connecting devices. Selecting the proper placement makes it easier for users to interact with the screen and optimizes viewing angles. A cramped space or poor lighting can reduce the effectiveness of the panel, making the interactive experience less enjoyable.
Additionally, preparing devices and cables is a crucial part of Tips Install Interactive Flat Panel that cannot be ignored. Make sure HDMI, USB cables, and power adapters meet the panel’s specifications. Proper preparation ensures a faster and neater installation process while preventing signal interference or damage caused by incorrect cables.
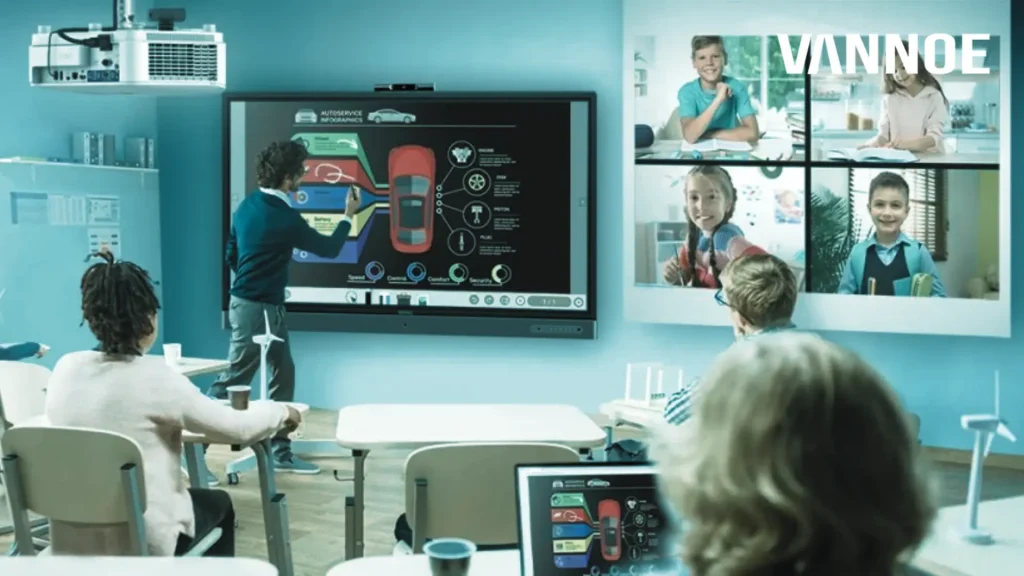
In today’s digital era, interactive flat panels are increasingly popular in schools, offices, and conference rooms. This technology allows more dynamic interaction compared to traditional projectors, delivering sharp, responsive visuals. However, to achieve optimal performance, proper installation is a critical factor. This article will cover tips install interactive flat panel comprehensively, from preparation to post-installation maintenance.
Tips Install Interactive Flat Panel
Preparation Before Installing an Interactive Flat Panel
Before beginning installation, proper preparation is key to ensure a smooth process. First, ensure that the installation area meets several criteria, such as ample space, good ventilation, and a stable power supply. This prevents issues like overheating or signal interruptions during use.
Measure the wall or installation area carefully. Choose a height and position that is comfortable for all users, especially in classrooms or meeting rooms with frequent access. Also, check the wall structure to ensure it can support the panel’s weight, as some models can weigh tens of kilograms.
Tools and Equipment Needed
To ensure a safe installation, gather all necessary tools beforehand. Common tools include screwdrivers, drills, a level, a bracket specifically for the interactive flat panel, HDMI or USB cables, and a power adapter compatible with the panel.
It is also important to check whether supporting devices like computers or laptops are compatible with the panel. Make sure the drivers and interactive applications are installed and updated so that touch functionality works correctly.
Steps to Install an Interactive Flat Panel
-
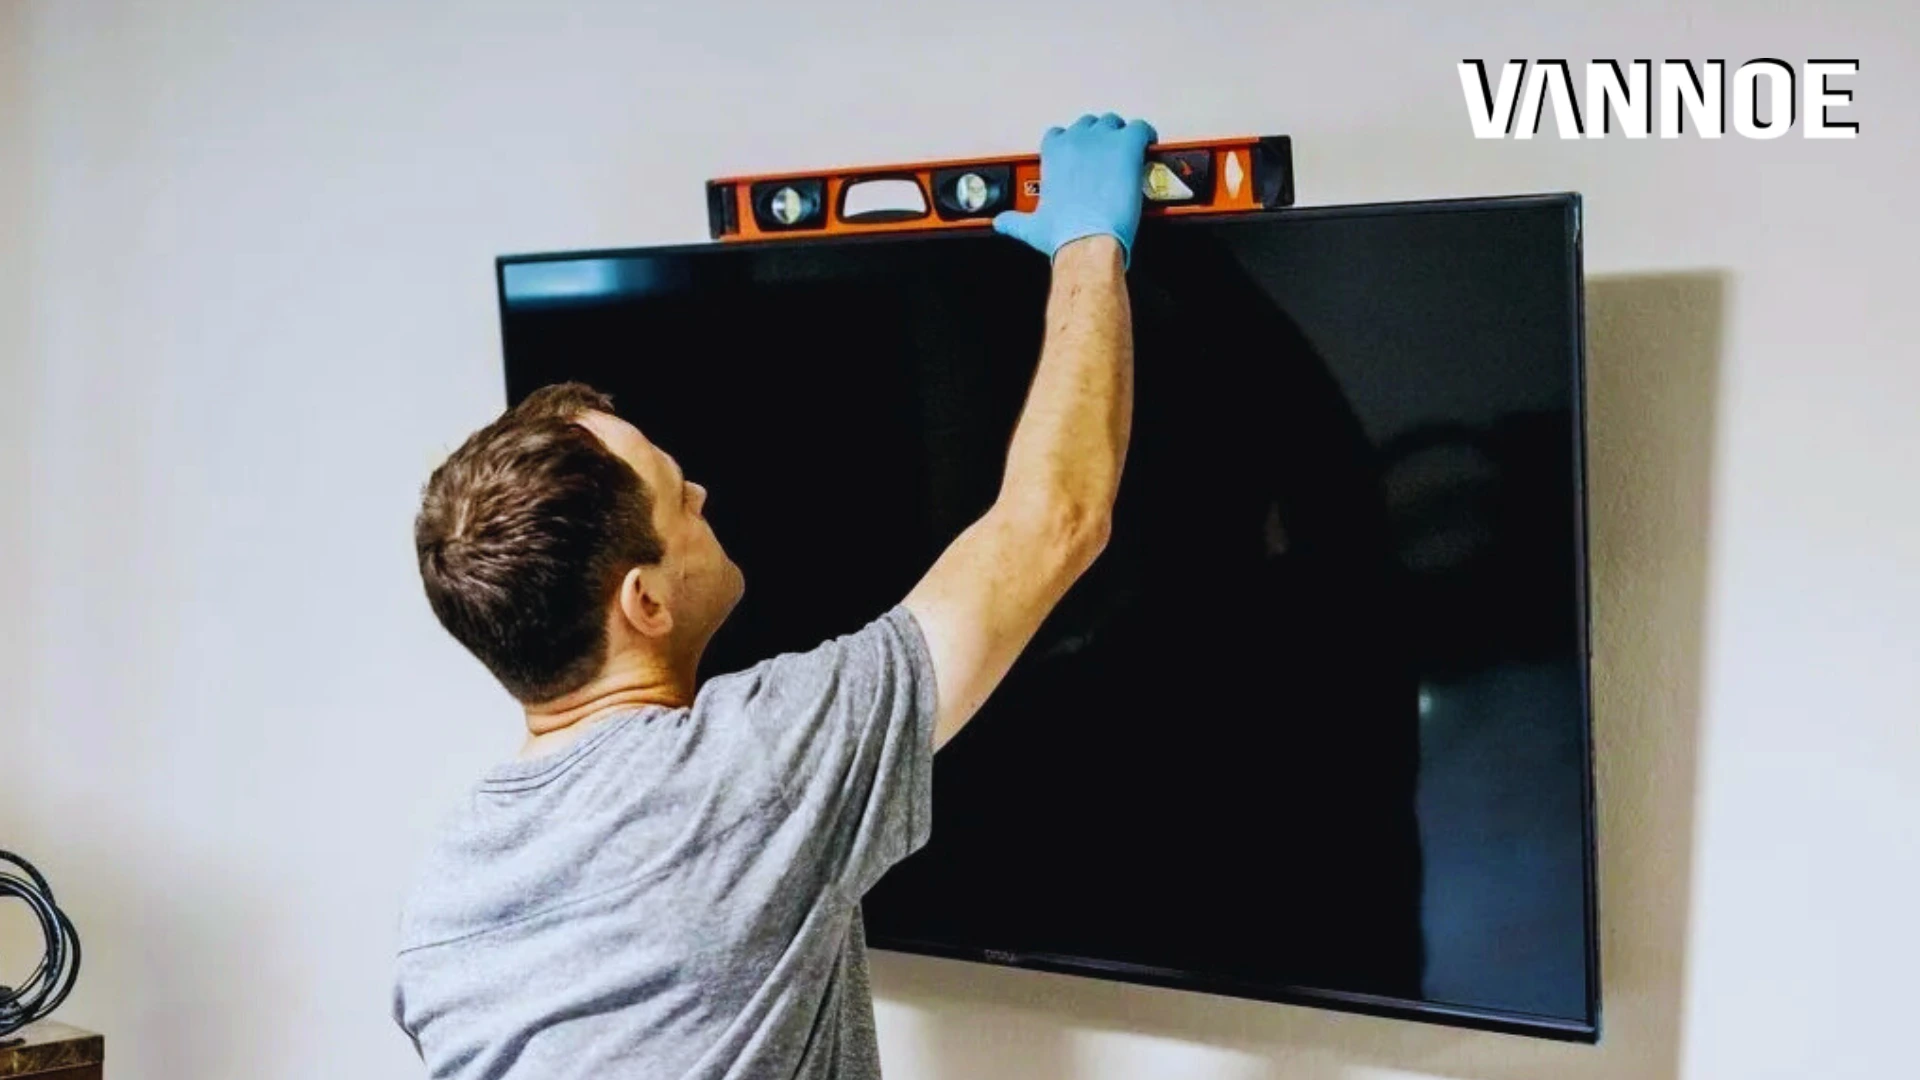
Mount the Bracket on the Wall
Use a bracket that matches the panel’s size. Ensure it is level and secure using a leveling tool. An uneven installation can make the screen misaligned and reduce user comfort. -
Carefully Hang the Panel
Once the bracket is installed, hang the panel slowly. It is recommended to have two people for this step to prevent damage from drops or scratches. Ensure power and data cables are not strained or pinched during hanging. -
Connect Cables and Supporting Devices
Connect the panel to a computer, laptop, or other devices using HDMI or USB cables. Make sure each connection is secure and tidy to avoid interruptions during use. -
Calibrate the Touch Screen
Once connected, calibrate the touch screen. This ensures that every touch or gesture is accurately recognized. Most panels provide automatic calibration guides that are easy to follow. -
Test Panel Functions
Before full use, test all panel functions, including touch, screen resolution, audio, and network connectivity. Ensure everything operates smoothly and meets user expectations.
Read Also: Interactive Flat Panel Display: The Smart Touchscreen Innovation for Education and Business
Maintenance Tips for Interactive Flat Panels
To maintain performance and extend the panel’s lifespan, regular maintenance is necessary. Clean the screen using a microfiber cloth and special cleaning solution; avoid rough materials that can scratch the surface.
Also, regularly inspect cables and connections to prevent technical issues. Update firmware or panel software to access the latest features and protect against potential bugs or system malfunctions.
Common Installation Mistakes
Common mistakes during installation include uneven bracket mounting, using incompatible cables, or neglecting screen calibration. These errors can reduce user comfort and even cause permanent panel damage.
Always follow the manufacturer’s official guidelines and seek professional technician assistance if necessary. Investing time and effort during installation ensures the interactive flat panel functions optimally and lasts longer.
Conclusion and Product Recommendation
Following the tips install interactive flat panel correctly ensures the device works efficiently, safely, and has a long lifespan. From preparing the location, mounting brackets, connecting cables, to calibrating the screen, every step plays a crucial role in panel performance.
For optimal results, consider Vannoe as your interactive flat panel choice. Vannoe panels offer features like 350 nits brightness, FHD/UHD resolution, 10-point IR touch support, and compatibility with both landscape and portrait modes. These advantages make Vannoe ideal for classrooms, offices, or professional presentation spaces.
Additionally, Vannoe’s sturdy aluminum design and Android 12 operating system make it user-friendly and durable. Choosing Vannoe simplifies installation and maintenance, ensuring a seamless interactive experience. The panel also supports various device connections, offering flexible use for presentations, lessons, and collaborative activities.